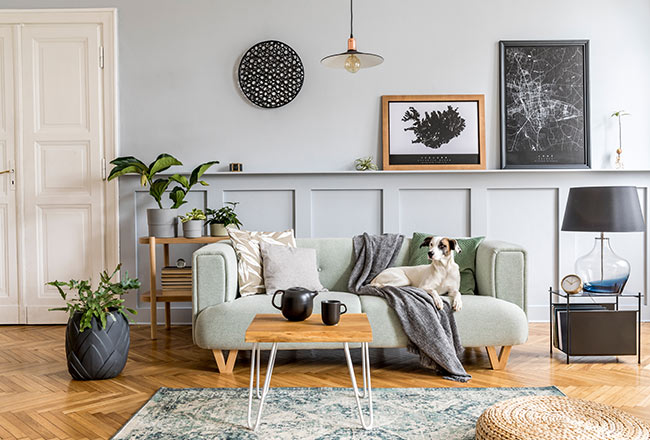
The floor is an important and the first area that you should beautify when remodelling your home. Choosing the proper flooring may completely change the tone of your space in addition to defining your overall interior plan.
Vitrified tiles have emerged as one of the most popular flooring solutions, especially as an alternative to natural materials like marble, wood and stone. These tiles are frequently used in both commercial and residential settings.
These tiles are unique because of their strength, resilience, and a lower rate of water absorption. Let's look at which specific tile will go best with your space from the many vitrified tiles that are now on the market.
Full Body Vitrified Tiles
As the name implies, full-body vitrified tiles have a consistent colour throughout the body, or cross-section, of the tiles. The tile borders will be the same colour when you trim the tiles to fit them where two walls meet at a straight angle. And one of the main advantages is this. Full body vitrified tiles are best suitable for moderate to high-traffic regions . They come in both matte and polished finishes.
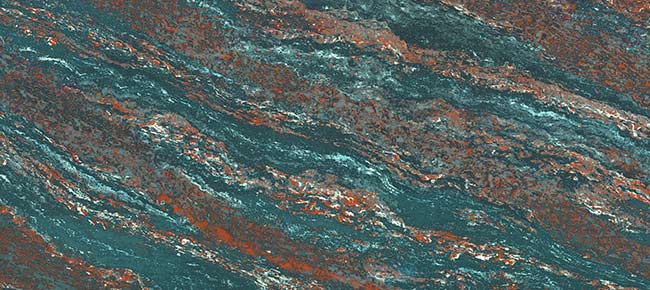
Polished Glazed Vitrified Tiles or PGVT
Glazed vitrified tiles that have been polished are the same as glazed vitrified tiles that have had polish applied to increase their shine. PGVT is the common name for these tiles.
PGVTs are available in high gloss finish and are perfect if you want to instantly upgrade the plush factor of your home or office. PGVTs are best for low to medium-traffic areas, where they don’t face much harsh usage and have sufficient dust avoidance. Dust can wear off the polish over time. So, these tiles need proper and regular cleaning to maintain their shine.
Any form of design, surface texture, etc., may be applied to this glazed surface. It might improve the floor's attractiveness. It is known as digital vitrified tiles in the marketplace. They are available in glossy matte, rustic, wooden, and other finishes as well.
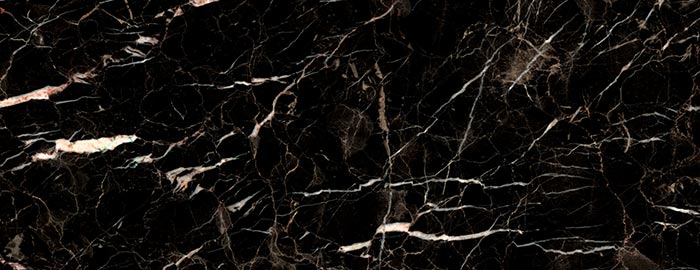
Double Charge Vitrified Tiles
Double-charge vitrified tiles have a more durable and scratch-resistant surface. They pass through a press that uses two pigment layers to print the pattern on them (two kinds of colours are fed into the machine).
As a result, the top layer of tiles thickens by 3 to 4 mm. The finishes for double-charge vitrified tiles are glossy and matte. Due to their thick upper layer, these tiles can handle higher footfall without visible signs of wear and tear. That is why these are recommended mostly for commercial spaces with high footfall, such as retail stores and malls.
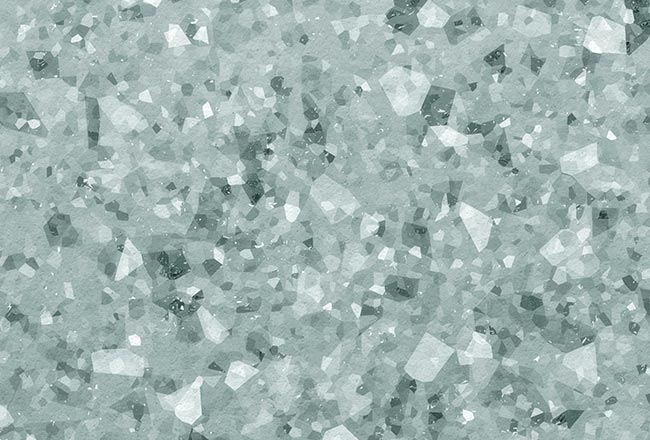
Nano Vitrified Tiles
Nano vitrified tiles are tiles with higher surface strength. These tiles are created with cutting-edge nanotechnology. These are strong and long-lasting because of the vitrification technique used in their creation. A smoother tile surface is achieved by applying liquid silica to the tile's surface to fill the nanopores.
These micro tiles, which are only available in a few designs, completely change the atmosphere of the space where they are put. The consistent polishing enhances the tile's attractiveness by offering a high-sheen surface, making it suitable for kitchens, baths (walls only), dining rooms, workplaces, and showrooms.
Installation Care for Vitrified Tiles
White tiles can add durability and beauty to your house floor and walls, their installation plays a key role in both. Take care of the following to properly install vitrified tiles:
- To begin with, level the surface by removing any glue or dust/dirt. Filling any low areas or gaps in the concrete floor can help it become more level.
- Measure the space to ensure that the tiles are laid down in the correct sequence taking the diagonals into account.
- Prepare an adhesive mixture by combining the powder with the appropriate amount of water. This concoction will serve as a bonding agent.
- You can try it out without the glue mixture to see how the surface will look before laying the tiles down on it. Place the tiles on the adhesive mixture that has been placed on the concrete floor when you are satisfied with how they are positioned.
- The following step is to grout the tiles when you have finished installing them. Make sure there is no dust or dirt in the grout lines. Use a rubber float to spread the grout mixture across the surface after that.
- Use an applicator bottle to apply a sealer to the grout once it has settled. The grout will remain intact as a result.
- Be sure to use a moist cloth or mop to remove any leftover adhesive or grout that was left on the tile surface. To get rid of the extra, you may even use a foam sponge.
Create a Lasting Impression with Vitrified Tiles
Vitrified tiles can create a lasting impression not only with their appearance and style but also with their durability. Apart from their appearance, vitrified tiles are also versatile when it comes to their usage in different areas. You can use them from parking lots to the bedroom and even bathrooms. Select the right finish and thickness of the tile based on your usage needs for a pleasing experience with vitrified tiles.